In this document
Taking a payment
When the guests are ready to pay, you settle the check from the staff app. This guide covers paying the whole check by cash or card, adding a tip, splitting the check between guests, and what happens to the table afterwards.
Open the payment screen
- On the Tables screen, tap the table and open its check. If you need a refresher, see Taking an order.
- Tap the green Pay button (card icon) at the bottom left of the check. It shows only its icon when the hold and send buttons are there too.
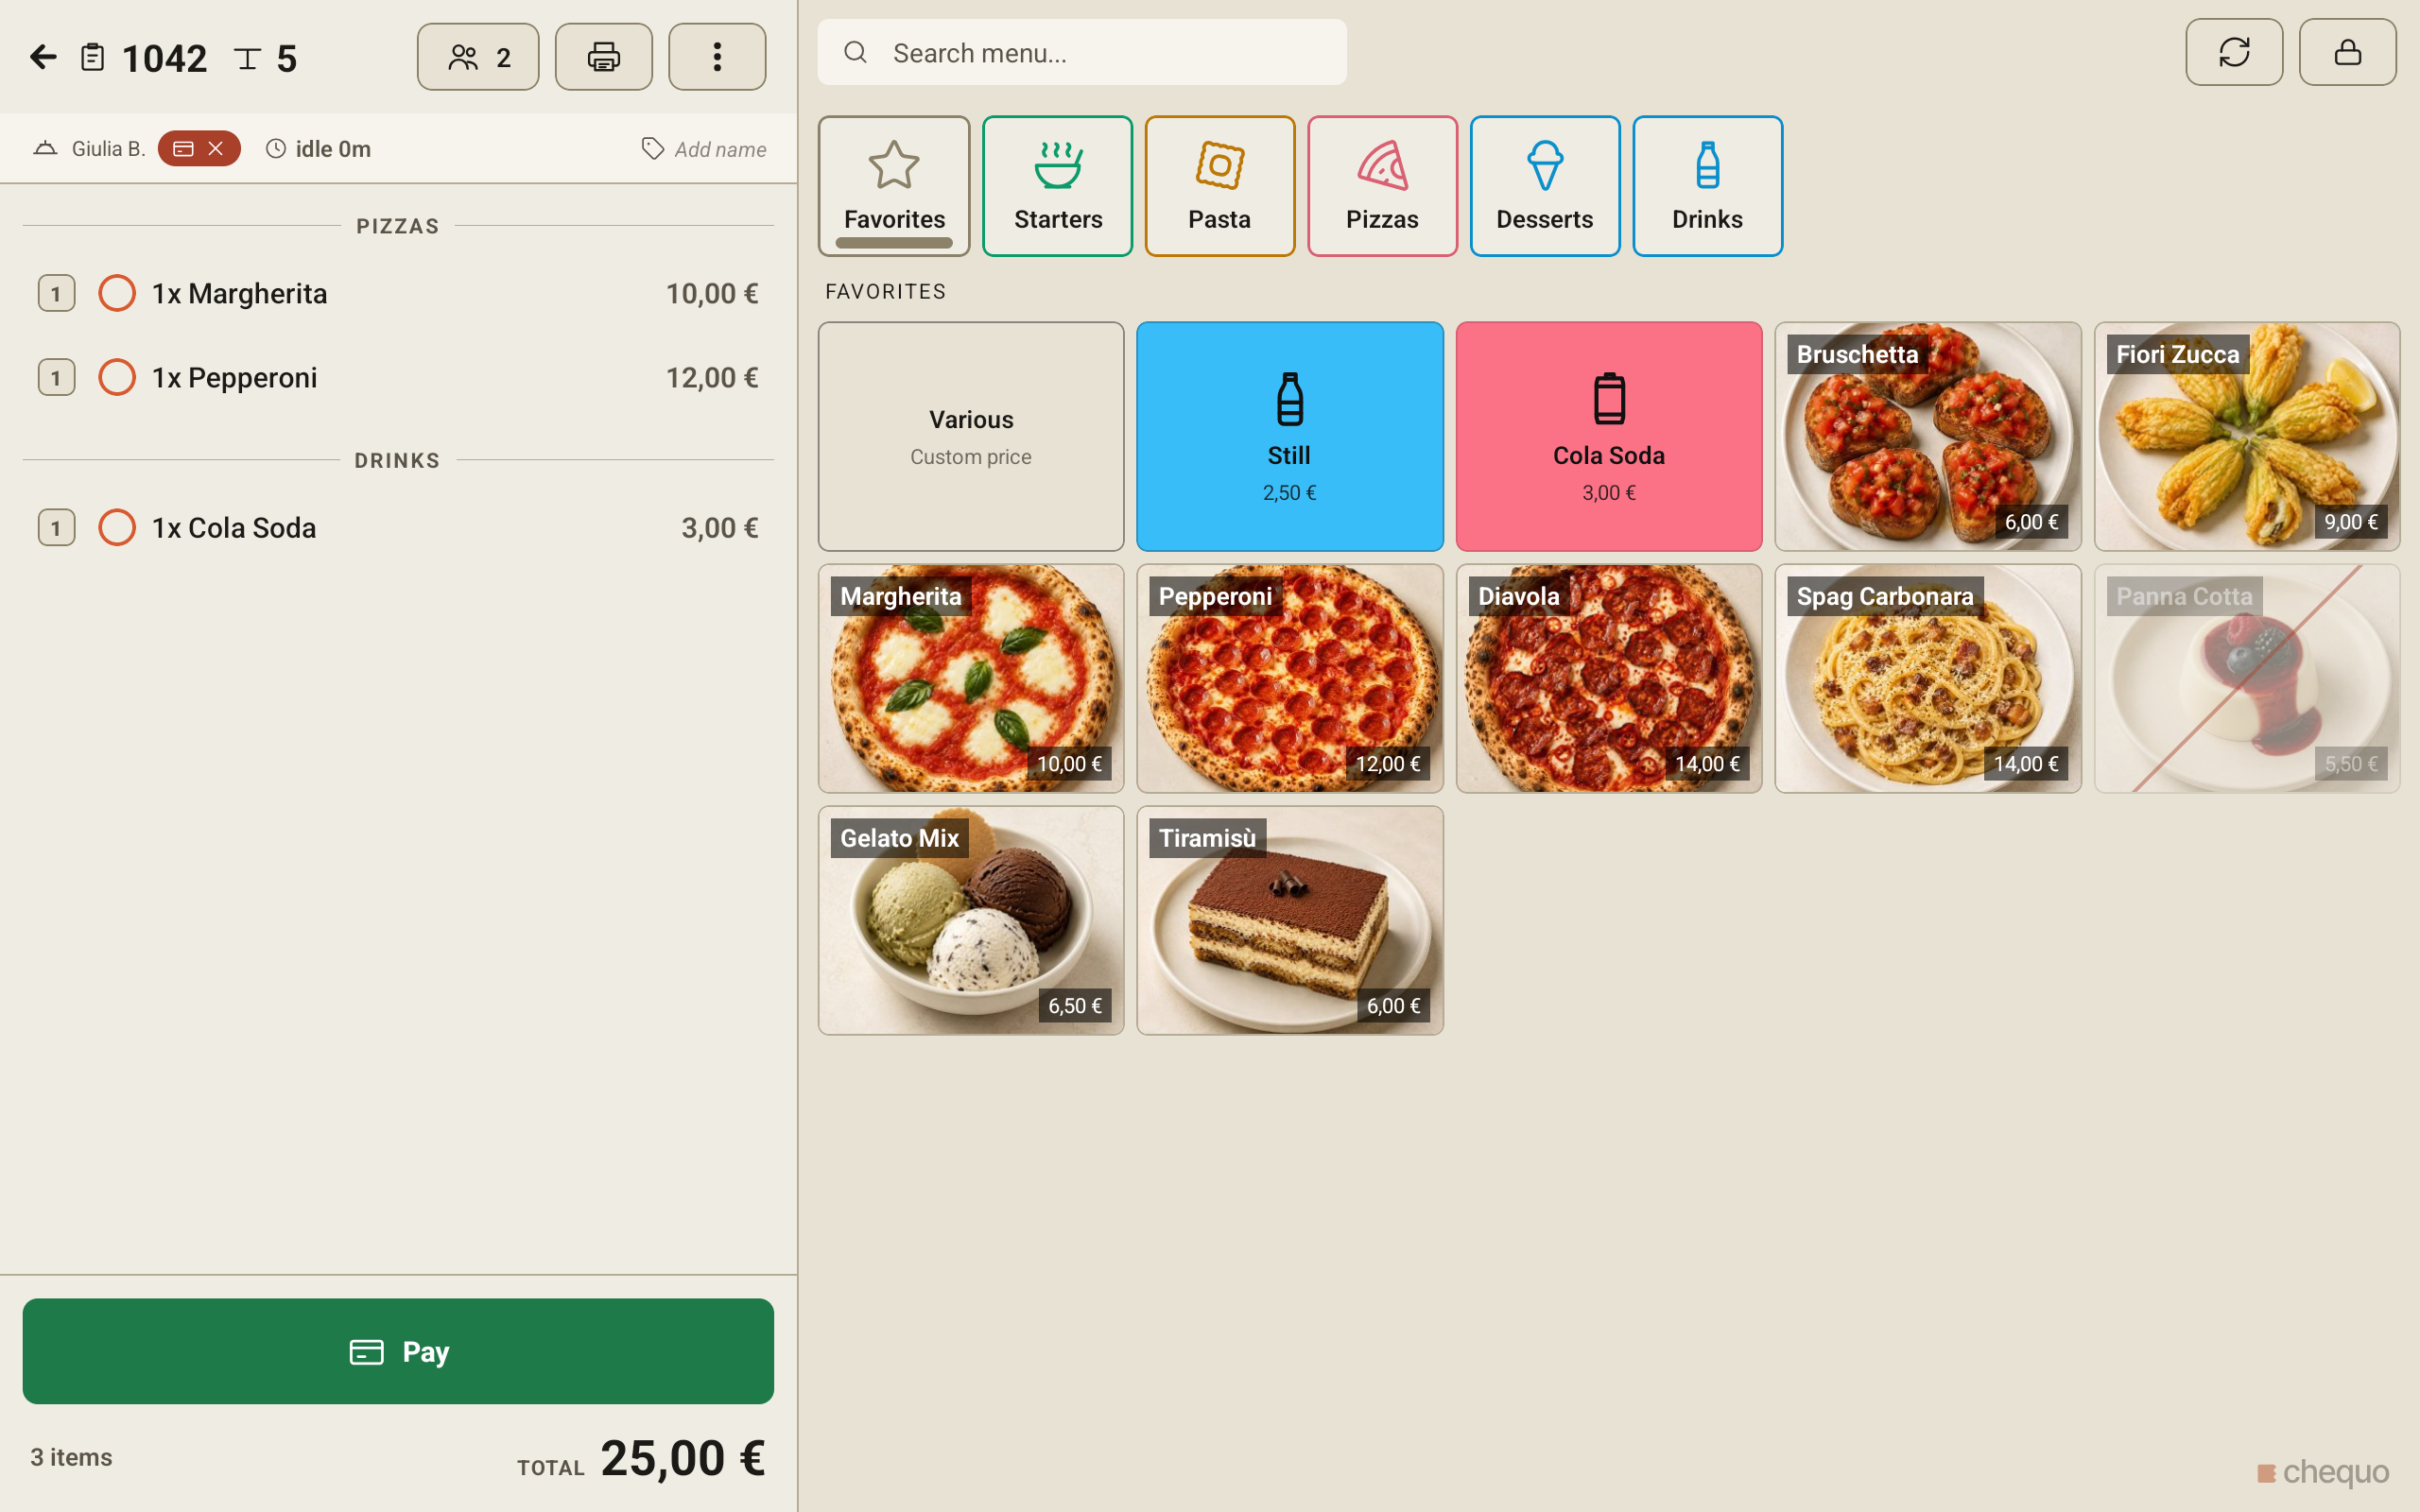
The payment screen shows the check's Total and what is still Remaining. If part of the check is already paid, the earlier payments are listed under Payments received.
If your restaurant uses the kitchen workflow and some items on the check were never sent to the kitchen (including courses on hold), a warning opens first: Some items were never sent to the kitchen. Tap Send now to send them, or Take payment anyway to carry on. A check with unsent items stays open after payment until those items are sent or removed.
Pay the whole check
At the top of the payment screen, three options decide how the check is paid: Single, By item and Equal. Single is selected unless the check is already being paid seat by seat.
- Leave Single selected.
- Tap the green Pay button. It shows the amount still remaining.
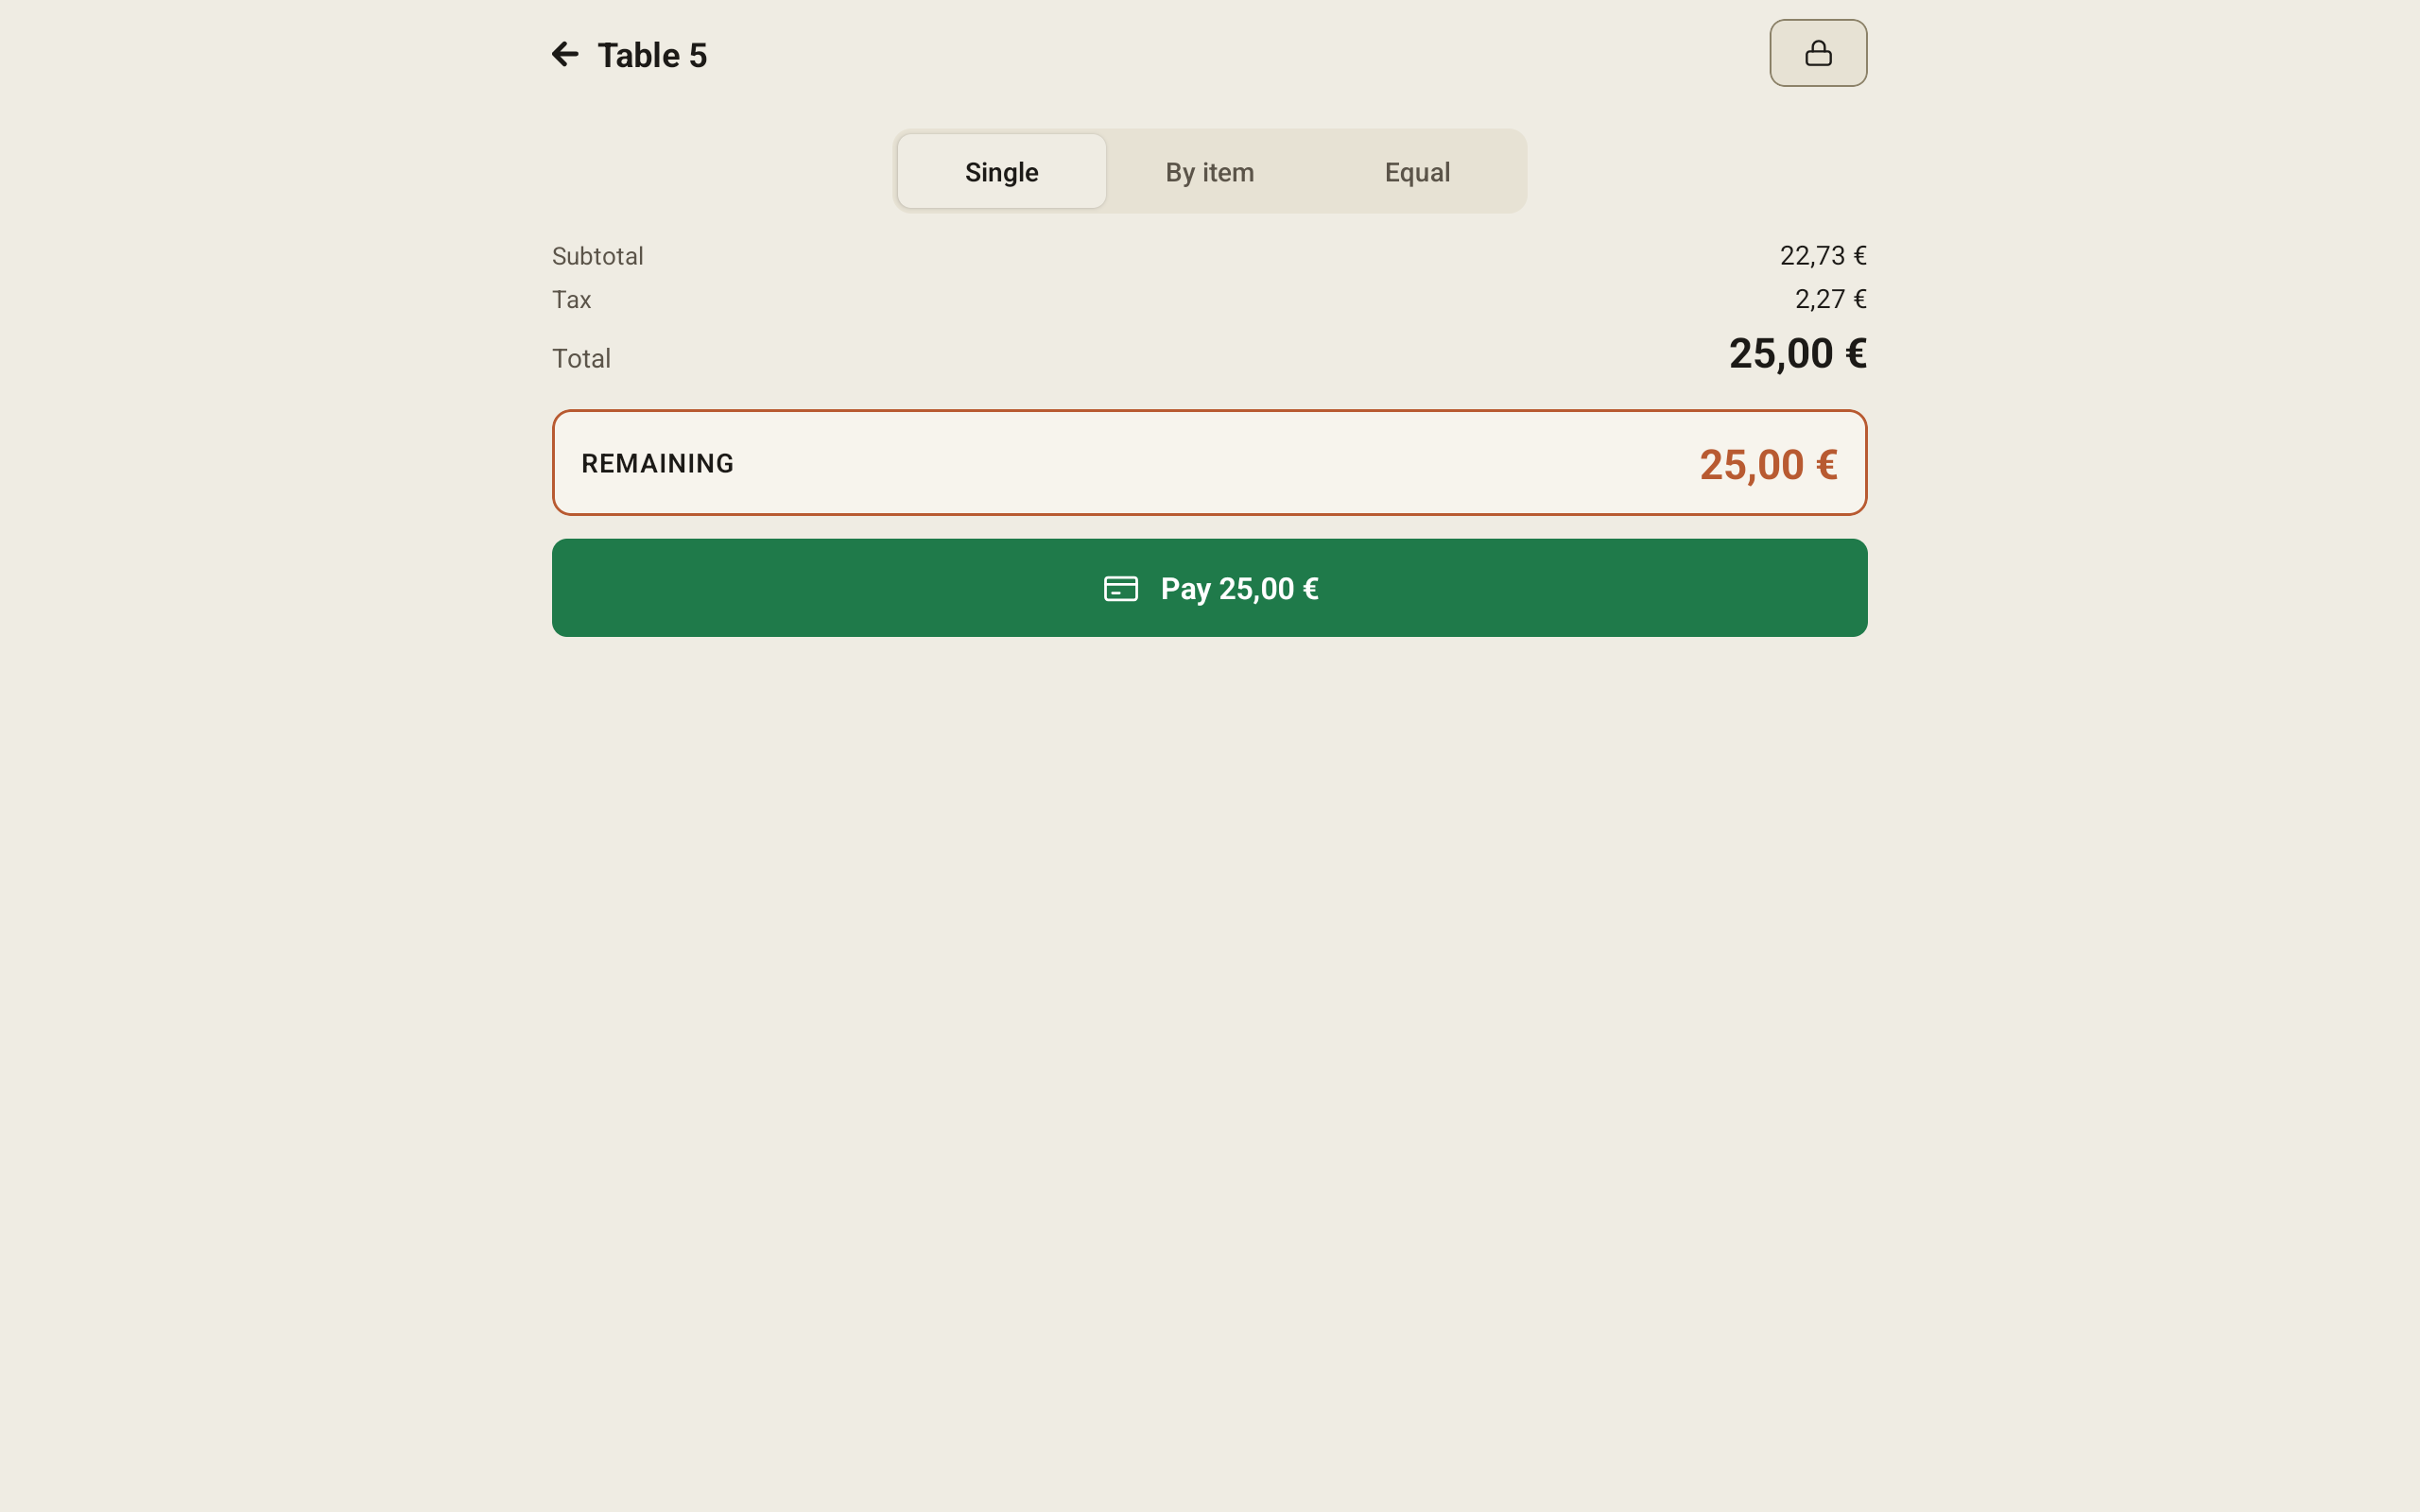
A payment sheet opens, titled Pay · Whole check. It shows the Total due, the tip, and a row for how the guest pays.
Add a tip
The Tip row has the choices None, 5%, 10% and 15%, plus Custom.
- Tap a percentage to add that tip. To pay updates to the check plus the tip.
- Tap Custom to type a tip amount on the keypad, then tap Save.
Each payment sheet opens with the tip at None. A location that does not take tips (a shop, for example) has no tip row.
Pay by cash
- On the payment row, tap Cash.
- Enter what the guest hands you:
- Tap Exact if they give you the exact amount.
- Tap one of the suggested amounts next to it (for 25,00 €: 50,00 € and 100,00 €).
- Or tap the amount itself to open the Amount keypad, type the figure, and tap Save.
- Check the Change due figure above the button.
- Tap Take payment.
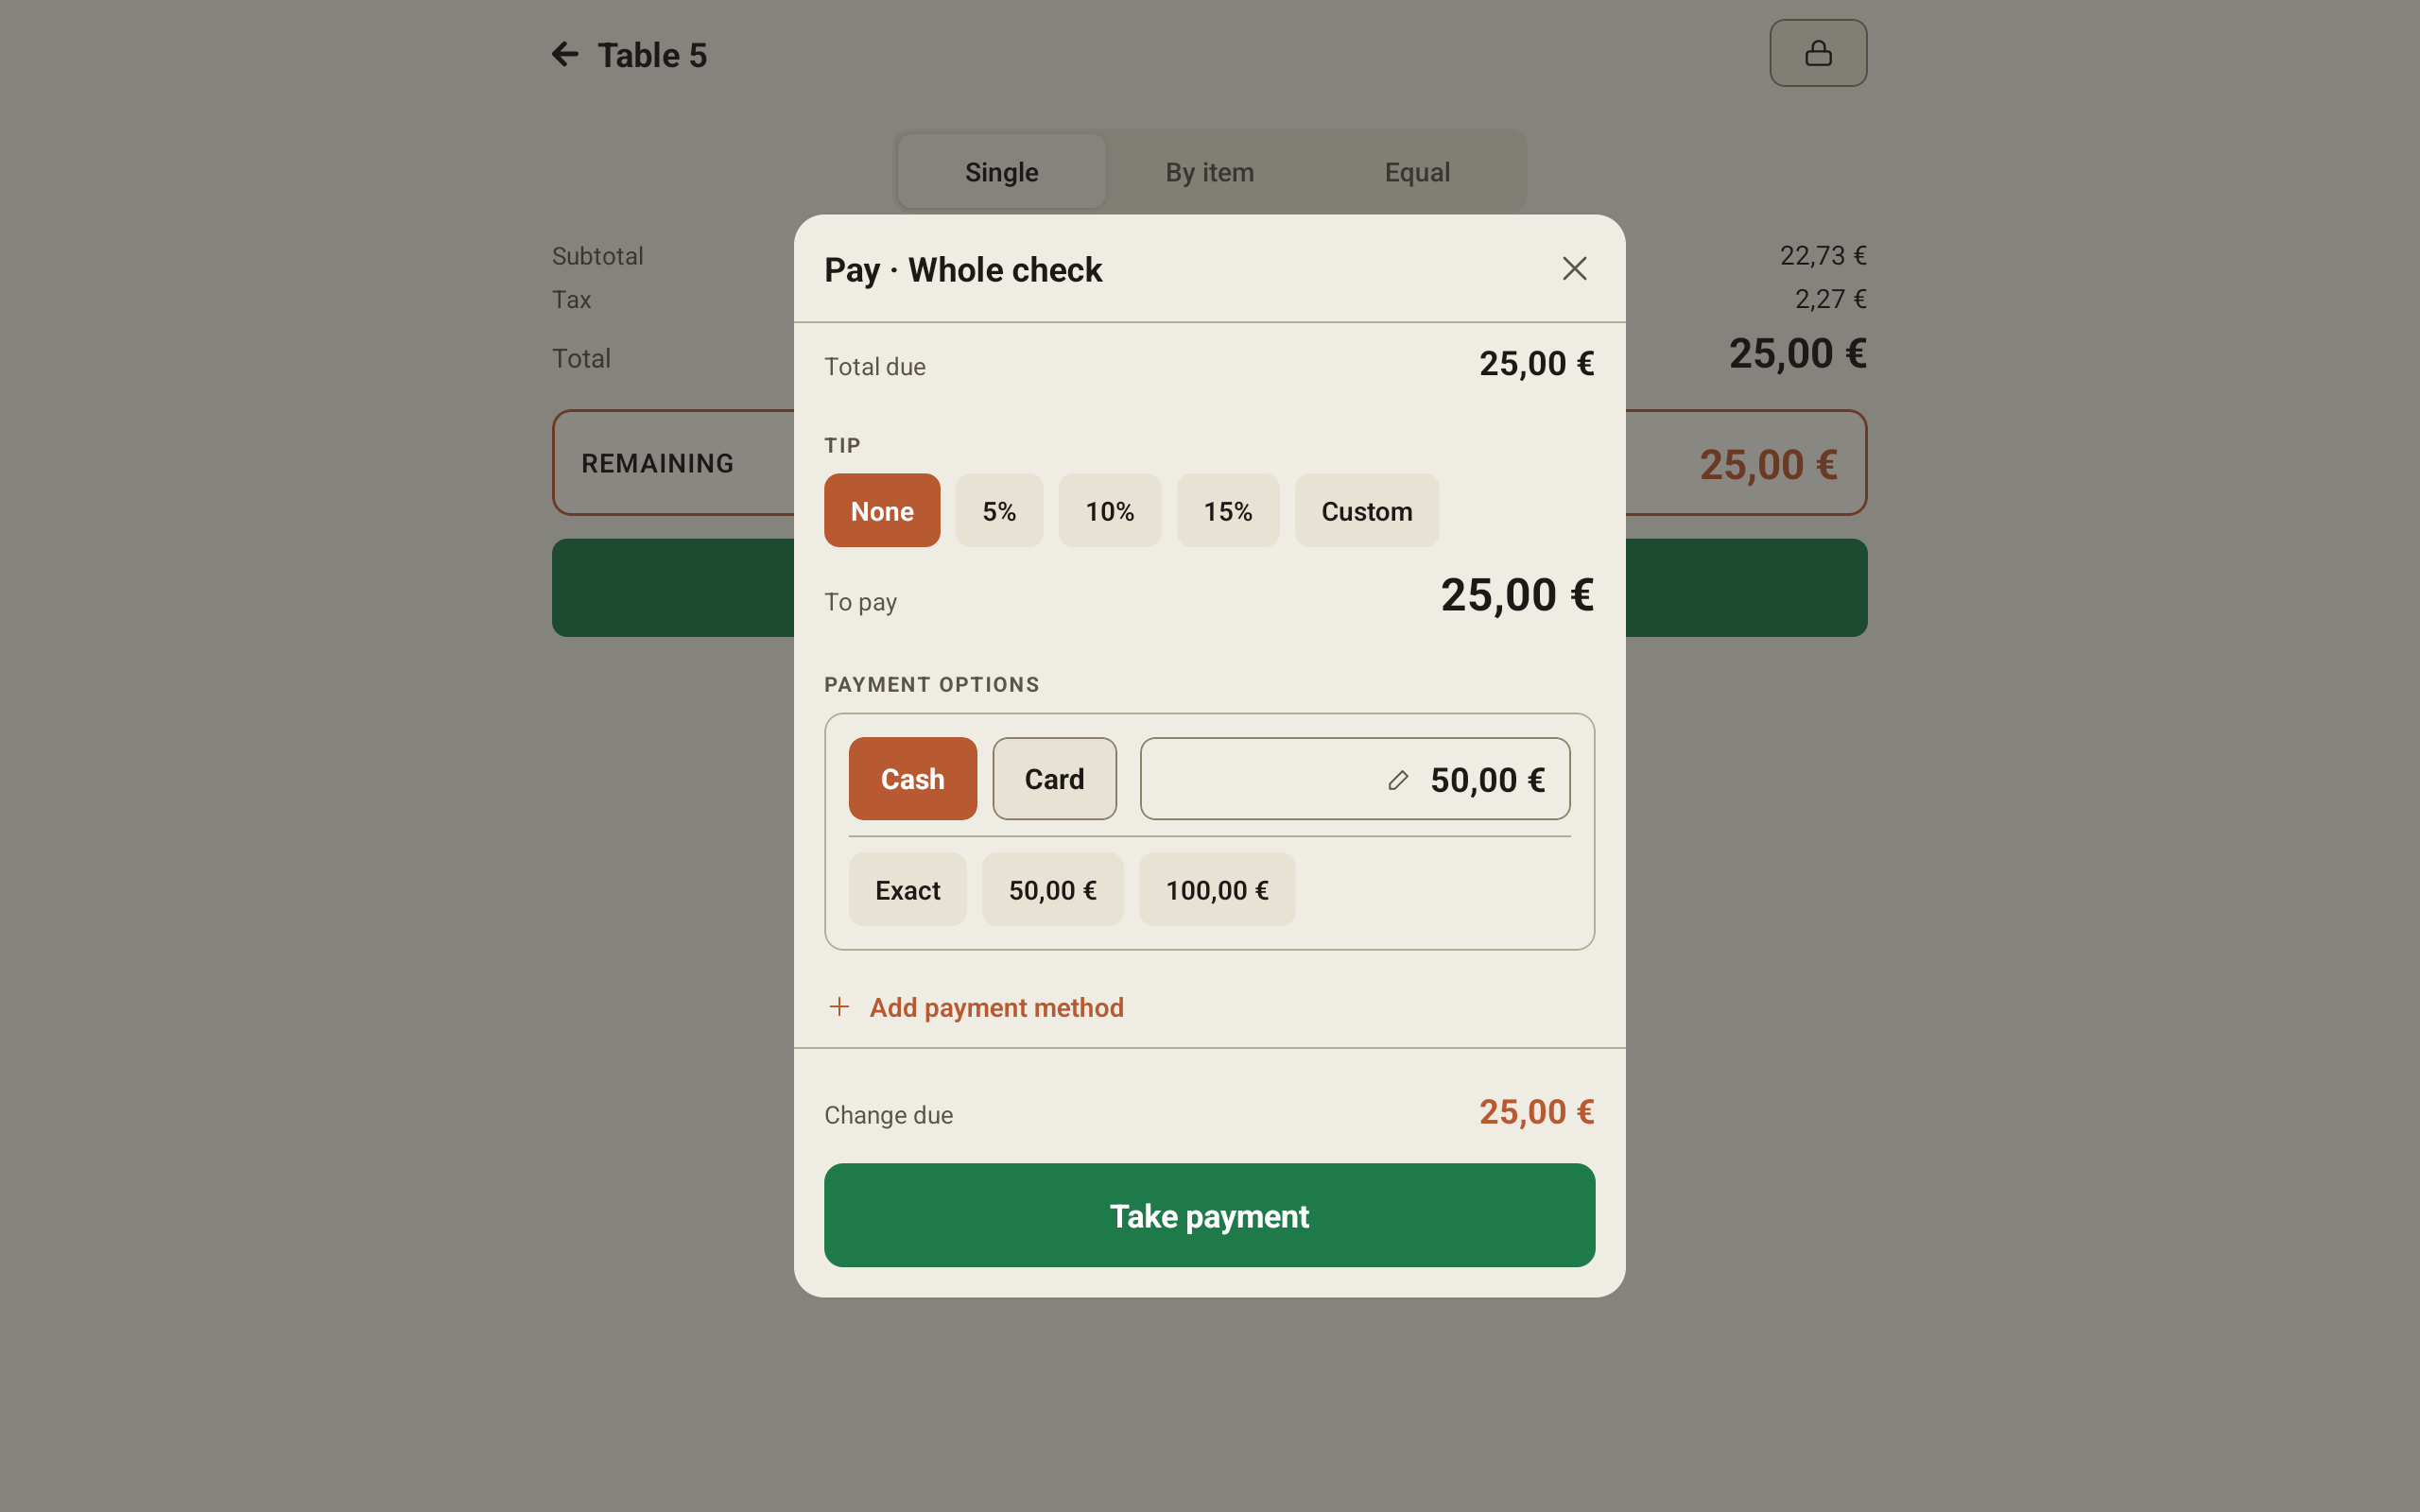
A Change due notice then tells you how much to give back to the guest. It stays on screen until you tap it. If this tablet has a cash drawer set up, the drawer opens.
Pay by card
The payment row starts on Card, for the full amount.
- Take the card payment on your card terminal for the amount shown.
- Once the terminal approves it, tap Take payment.
The staff app does not send the amount to the card terminal. Take payment records that the guest paid by card. If you change a card row to more than what is owed, the extra counts as tip, and the sheet says how much of it is tip.
Pay with cash and card together
- On the first row, pick Cash or Card and enter the part the guest pays that way. Tap the amount to type it on the Amount keypad, then tap Save.
- Tap Add payment method. A second row appears, set to the other method, and it covers whatever is left.
- Check that no Remaining amount shows above the button. Take payment stays greyed out until the rows cover the whole amount.
- Tap Take payment.
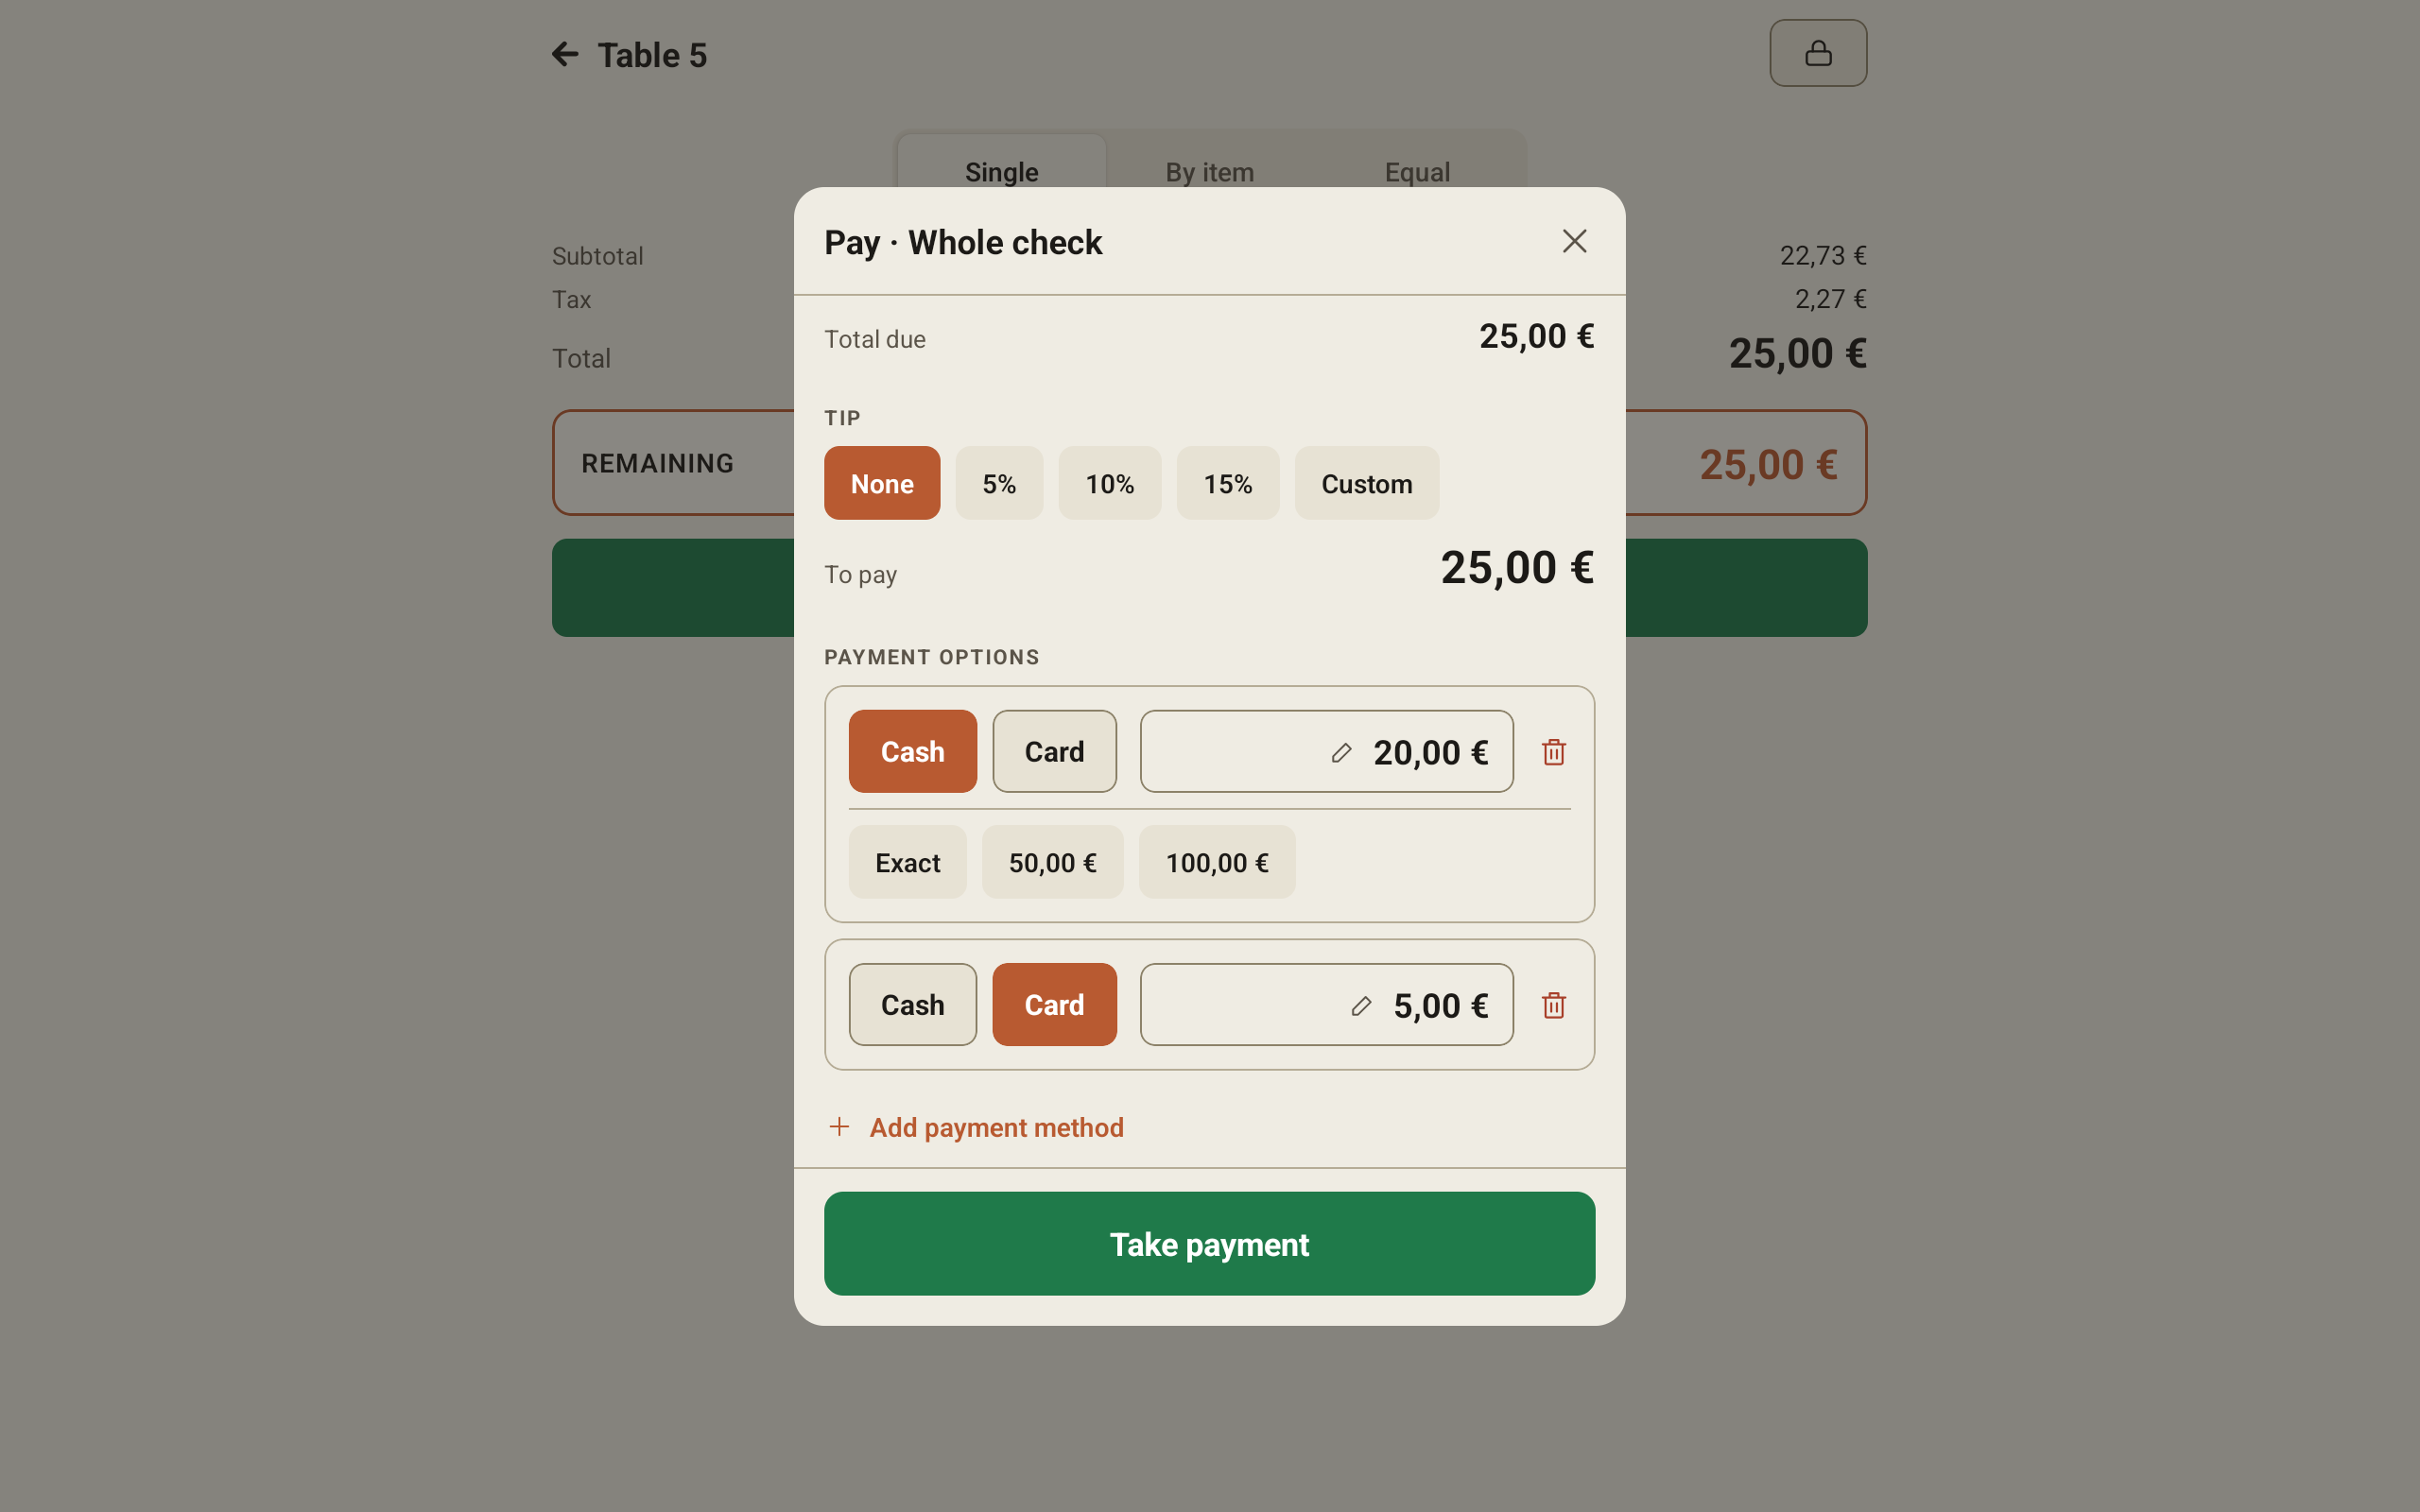
You can add up to four rows. Tap the bin icon on a row to remove it.
Split the check
Use Equal or By item at the top of the payment screen when guests want to pay separately. Each guest's payment opens the same payment sheet, so tips, cash, card and mixed payments work exactly as above.
Split evenly
- Tap Equal.
- Use − and + next to Seats to set how many people are paying (from 2 to 12).
- Each seat card shows its share as an amount and as a percentage. To change one guest's share, tap the amount or the percentage, type the new figure and tap Save. The other unpaid shares adjust so the total still adds up.
- Tap Pay on a seat card to take that guest's share. The sheet is titled with the share, for example Pay · Share 1/2.
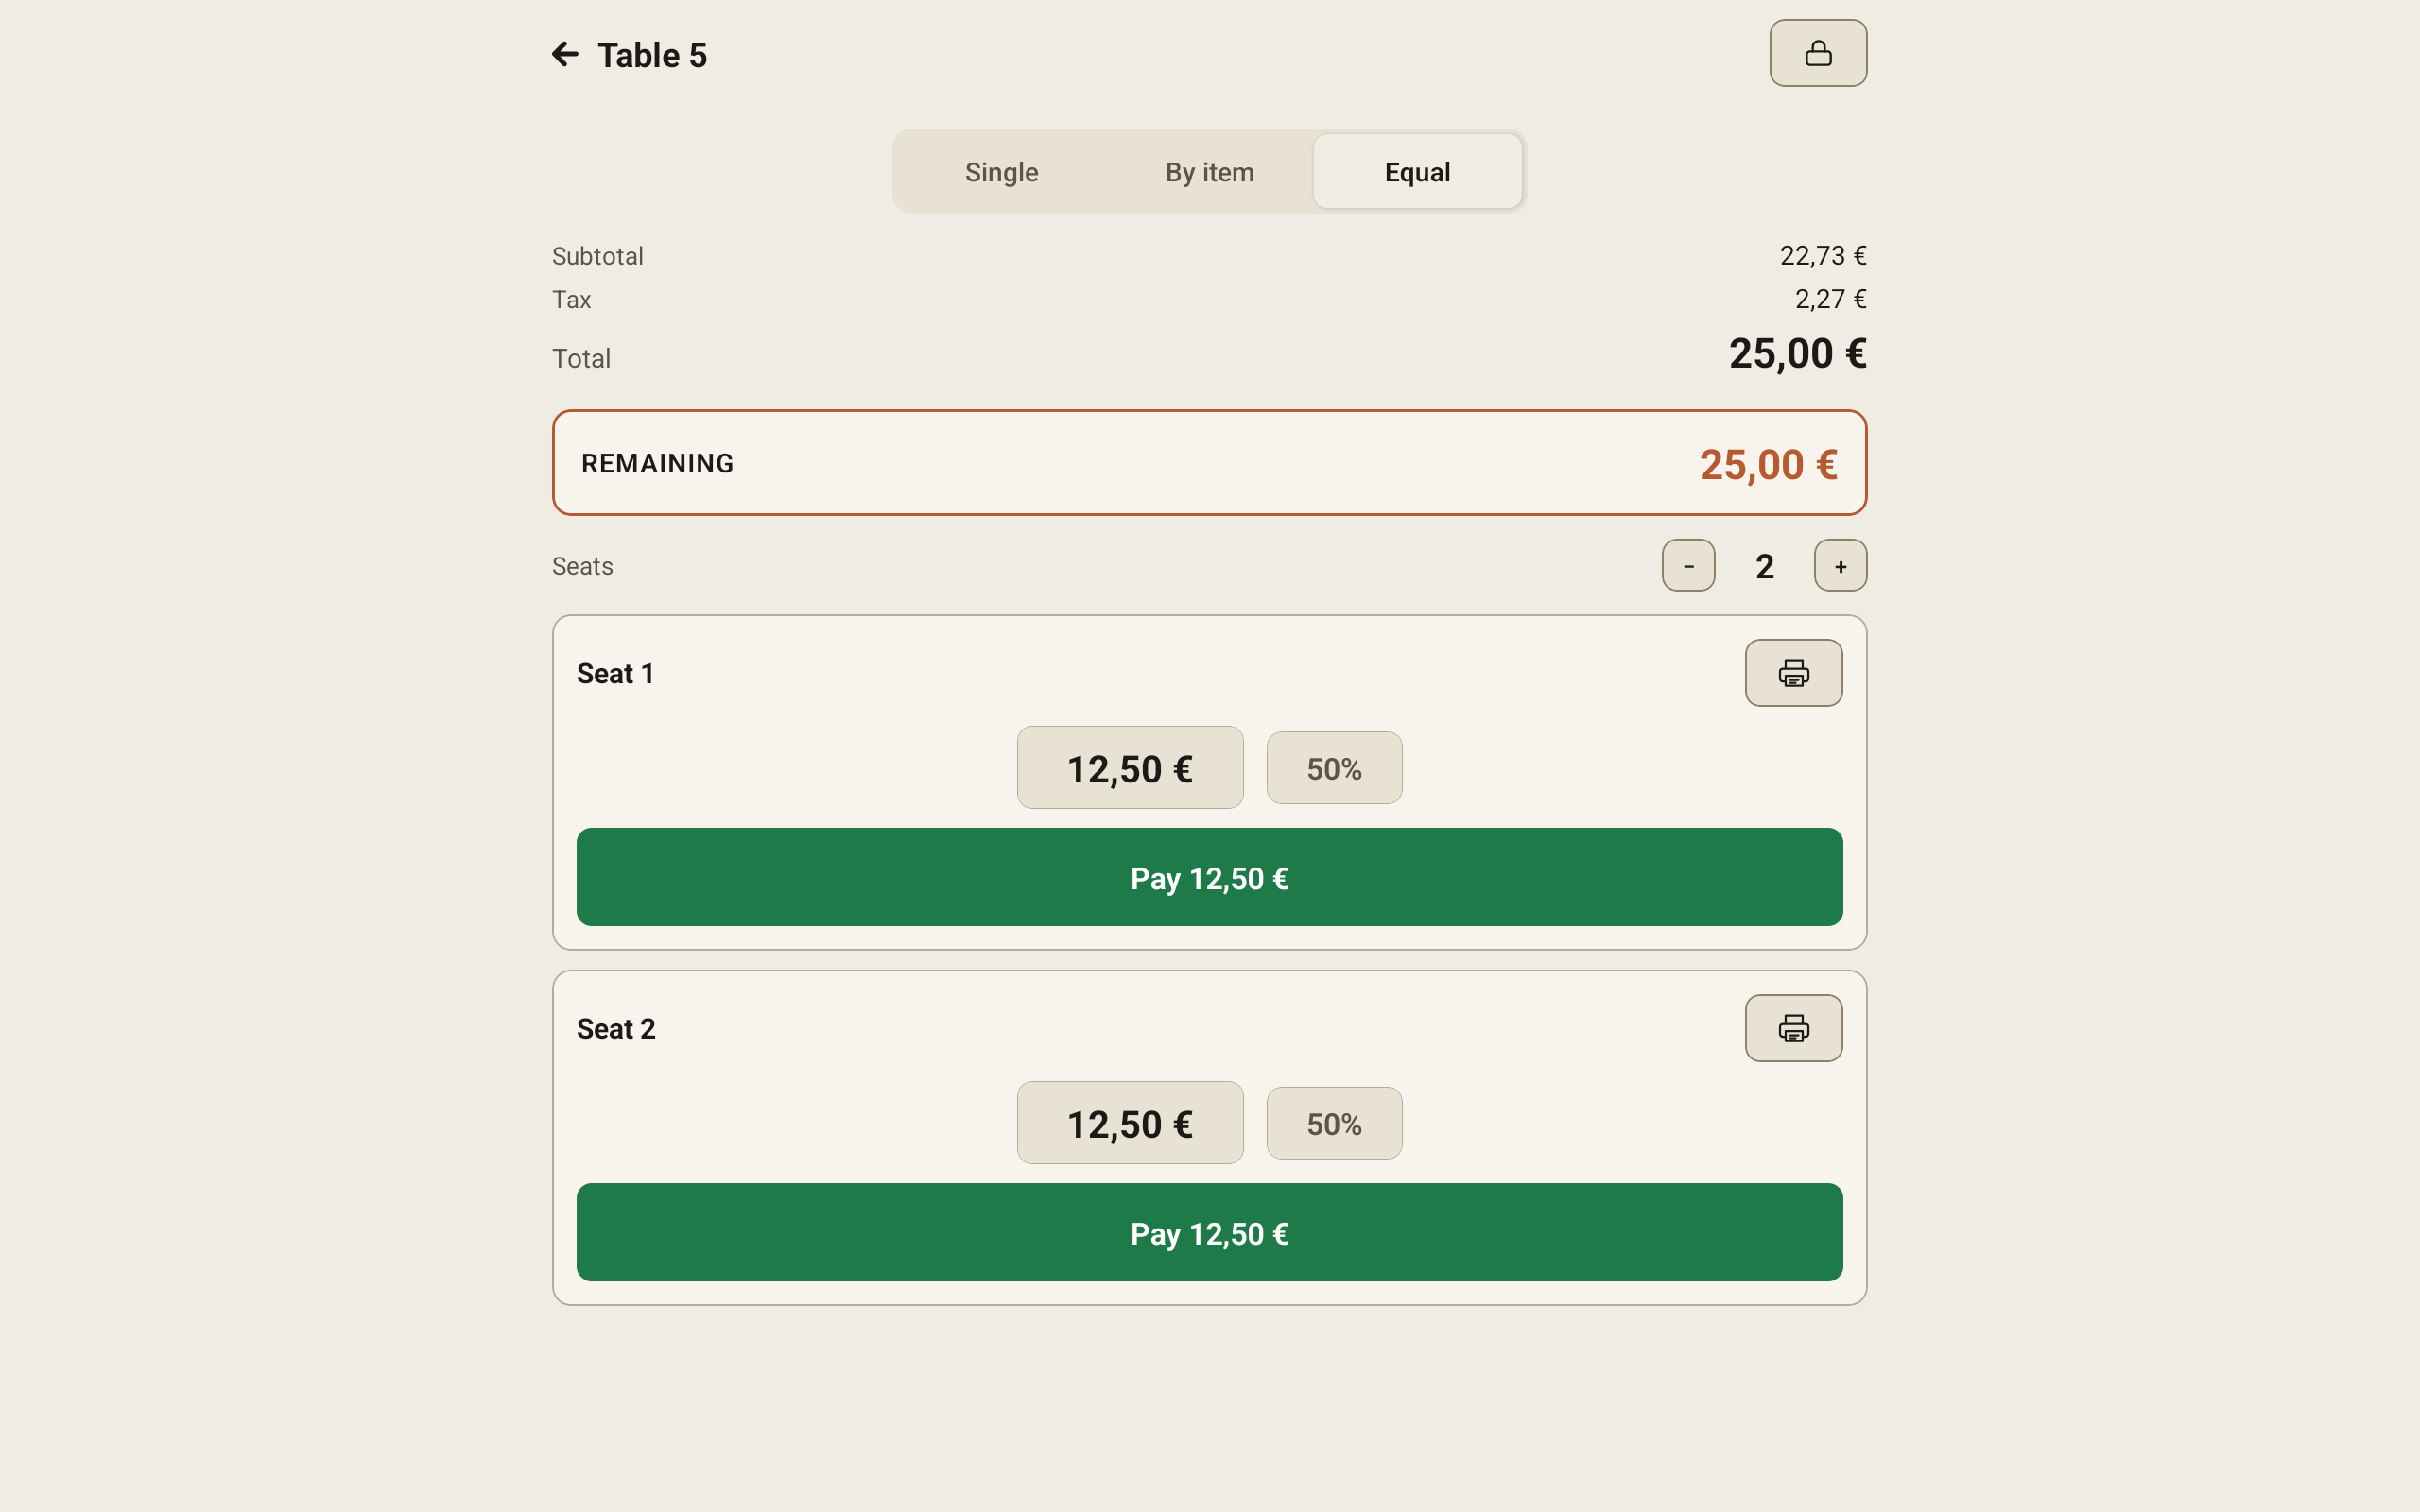
A share that has been paid shows Paid instead of a Pay button.
Split by item
Each guest pays for what they ordered. Every item and service charge must be on a seat first.
- Tap By item.
- Tap Open split screen. The Split by item screen lists every item on the check.
- Seats starts at the number of guests on the check. Use − and + to change it (2 to 12).
- For each item, tap the seat number it belongs to. An item with a quantity above one shows a split button first, for example Split into 2. Tap it to split the line into single items, then assign each one.
- Service charges are listed under Service charges. Tap a seat number for each one. A charge left on Shared stops the seats from paying.
- The app takes you back to the payment screen as soon as the last item has a seat, even if a service charge is still on Shared. So assign the service charges before the last item, or tap Open split screen again to finish them. You can also tap Back to payments.
- Once every item and service charge has a seat, the payment screen shows the green All items assigned to seats banner above Open split screen, then one card per seat with its items and total. If something is still unassigned, an amber banner says how many instead: open the split screen again and give it a seat. Tap Pay on a seat card to take that guest's payment.
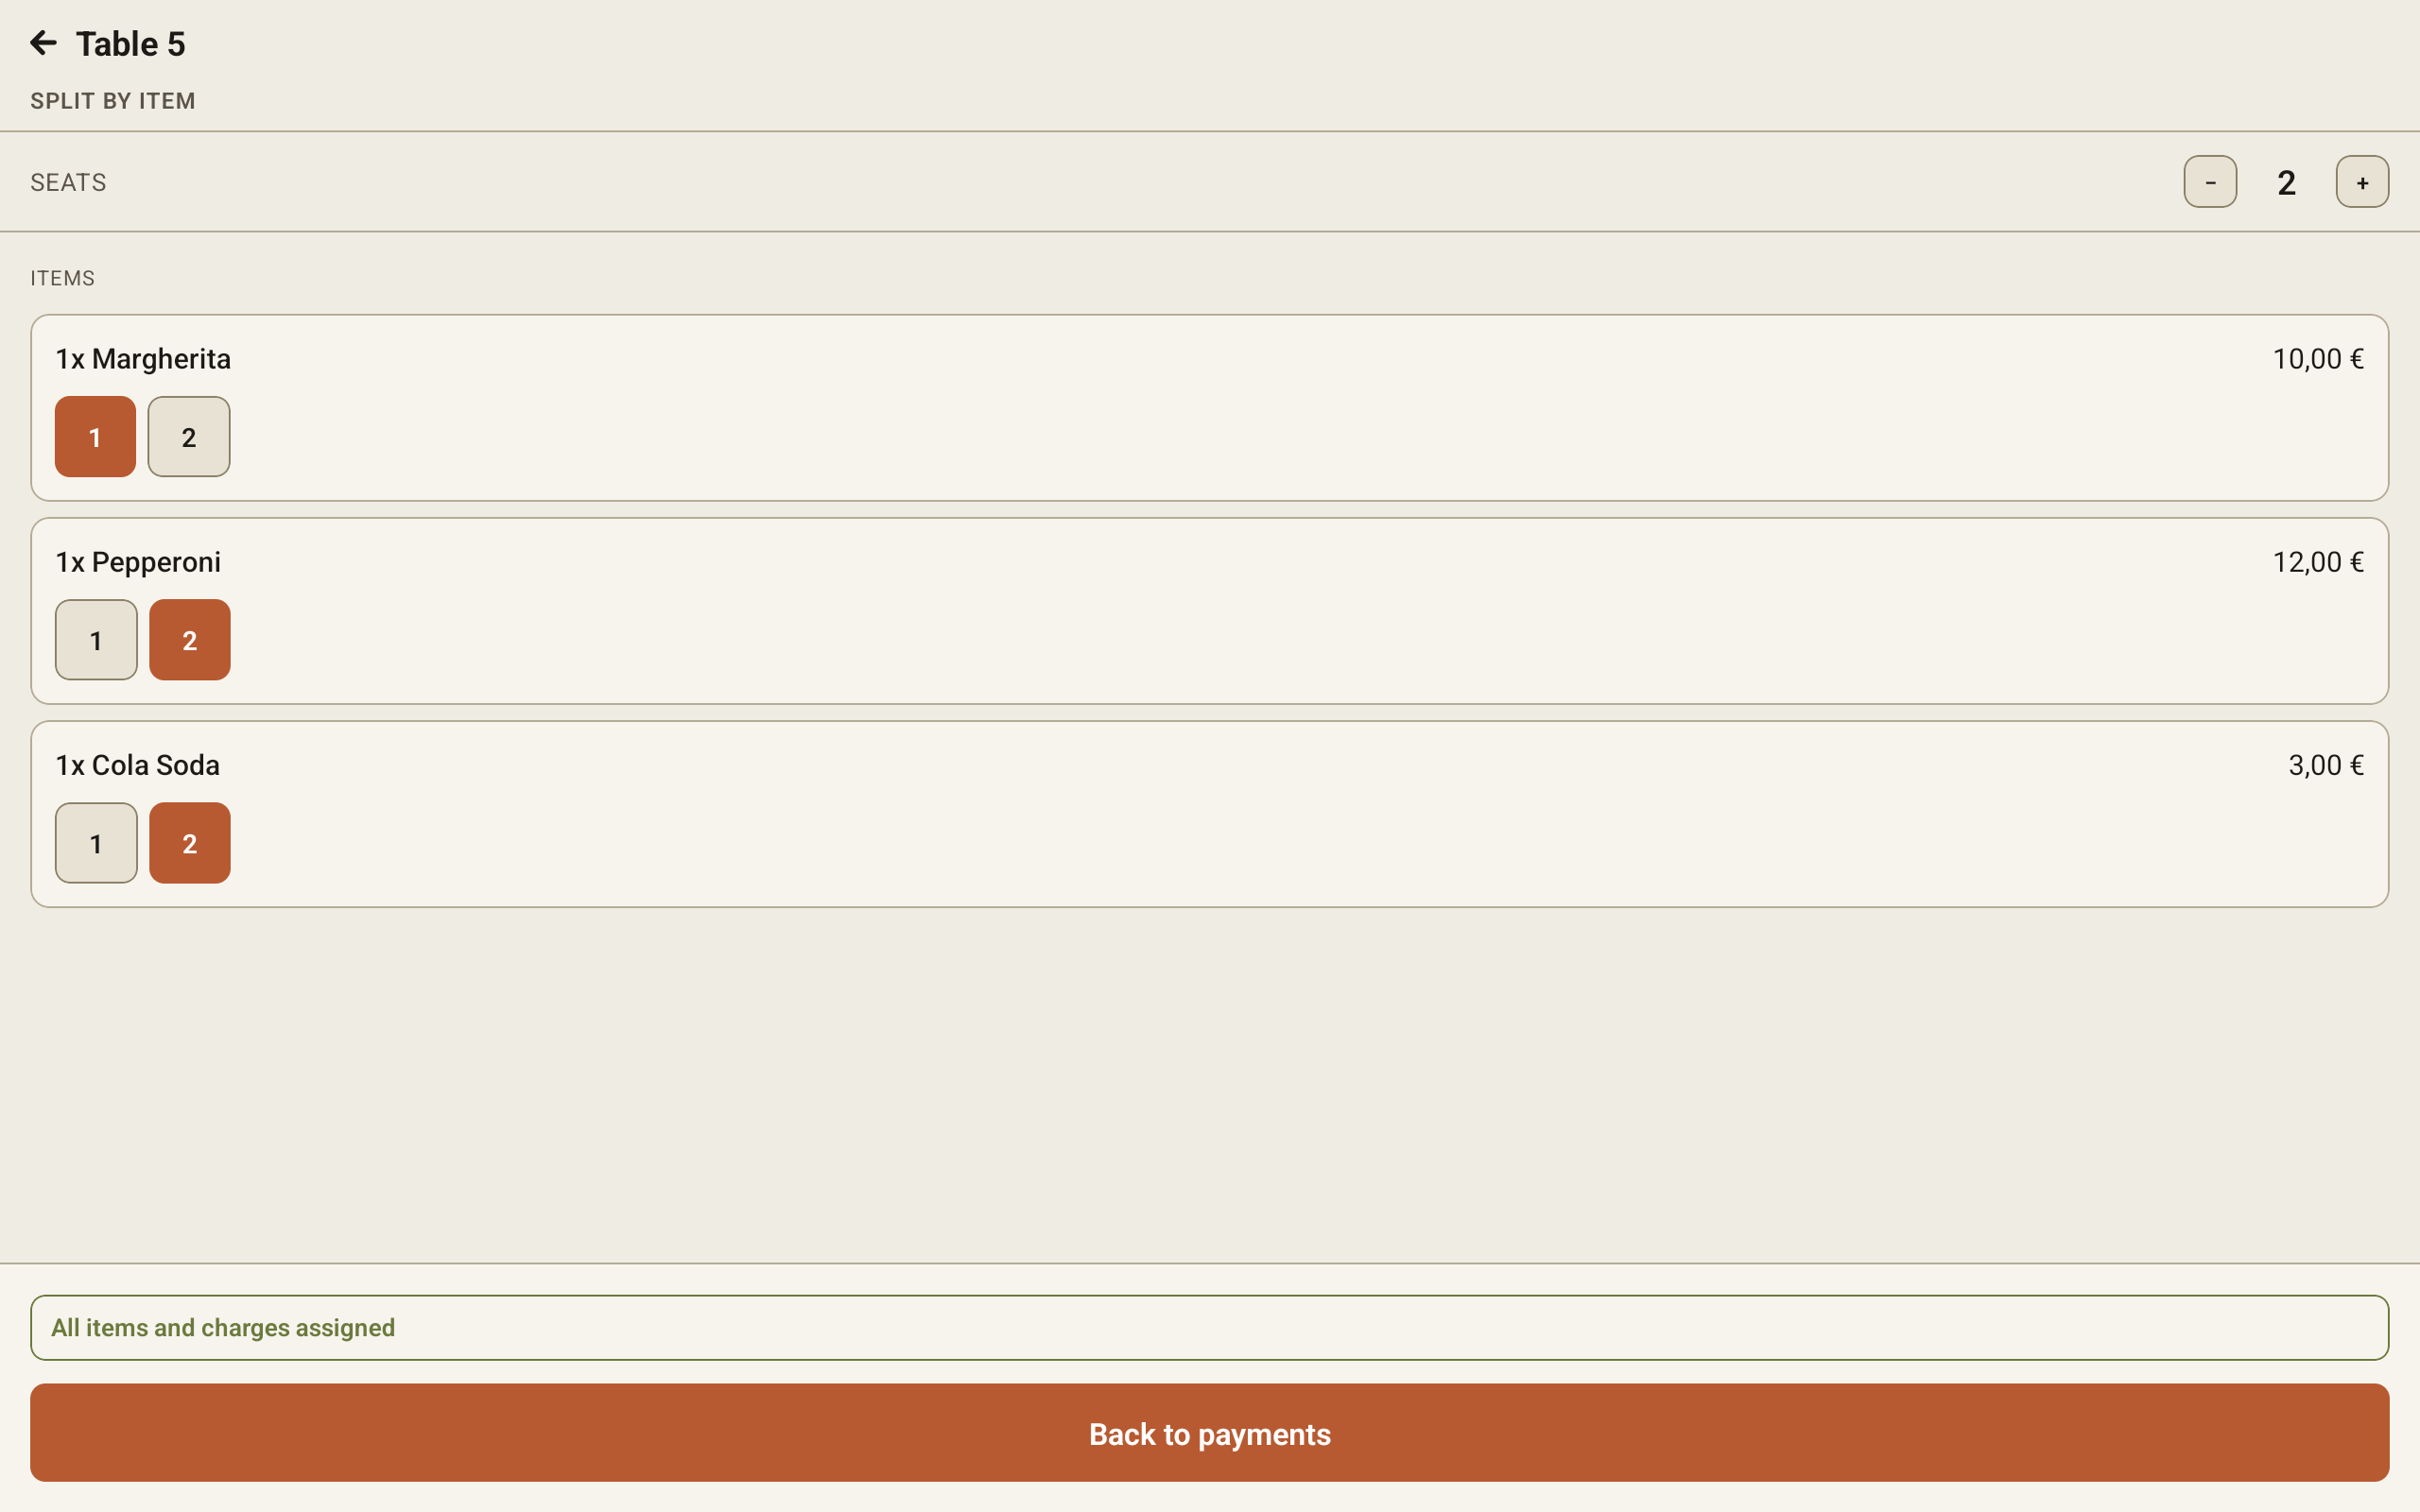
The printer icon on a seat card prints that seat's bill before the guest pays.
After the payment
A receipt prints automatically after each payment, on this tablet's printer or the restaurant's main receipt printer, so each guest on a split check gets their own. There is no step to choose or skip it.
When the check is fully paid, the app returns you to the Tables screen. While it finishes, you may briefly see Issuing fiscal receipt…; in Italy this is when the fiscal receipt is issued, and the receipt prints once it is ready.
The check closes and the table becomes free once the check is paid and the kitchen has finished every item. If dishes are still in progress in the kitchen, the check stays open with nothing left to pay. To free the table before then, open the check, tap the more actions button in the header, tap Release table, then Close check.